 If your computer contains a Realtek High Definition Audio system from Realtek semiconductor, you can enable a free feature to dedicate the front audio ports of the system chassis as a dedicated headset connection for applications such as voice communication and enhance your Voice-over-IP experience.
Part 1 - Configuring the headset feature avalible with Realtek High Defintion Audio
Overview
Most users only care with how to plug their headphone or speaker into a computer and hear sounds with zero effort and have or desire to know any more about the audio capabilities in their system and why should they? An audio socket should just work, right?
It is a bit more complex than that. The audio system in a PC since its inception has always allowed for very advanced sound mixing and processing. Every PC essentially has a professional mixing deck embedded in its innards with multiple inputs, outputs and the ability to mix or redirect these input and output signals.
The typical user will not need to access the advanced functions of their computers audio system; however, there is a useful feature available on contemporary PC audio systems that can enhance the way a user uses voice or telephony apps such as SIP, Skype, Instant messenger, chat and video conferencing applications.
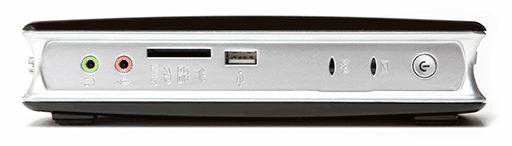
Typically, a user connects a microphone to the pink socket of their PC (line-in) and a speaker or headphone to the green socket of their PC (line-out). These colours are standardized across all PCs.
These connections can be either on the front or the back of the PC, or both. PCs made in the last five years should automatically detect where and what device (headphone, speakers, microphone) the user has plugged in into which socket and automatically switch these devices.
Older PCs can just use front or rear connections but not both at the same time.
This connection method comprises of transmitting analogue audio signals, and a system will have a number of inputs and outputs connected to a single audio adapter/soundcard/CODEC chip in the PC. These inputs and output signals can be toggled or mixed together for playback and recording.
PCs made in the last few years have a feature called ‘multi-streaming’ enabled in the audio device. This feature enables a virtual second audio device in the system, which is tied to the front audio sockets. The user can then configure their application such as a soft-phone or chat to use the front or rear system audio ports.
By defining two sound devices in the system (main and front) voice applications can switch between a speakerphone being the main speakers connected to the rear audio sockets and a headset being an earphone/headphone/headset connected to the front audio sockets.
Unplugging the headset will not affect any other aspect of the audio system, other than not making voice communication possible if the audio application is configured to only use the headset.
This feature can also reduce the impact that usual system sounds such as dings or music or any other sounds played on the PC have on say a voice conversation as these sounds are no longer mixed or played back with the voice conversation, useful especially if there is an amplifier or powerful speaker is connected to the PC.
Without multi-streaming, the system sounds and voice are mixed together and played back on the same audio device and speaker and it is up to the user to individually adjust the volume or mute each sound source as desired. Even at a lower volume, the unwanted sounds will still be evident and the task of distinguishing the different audio sources becomes more difficult.
Additionally, it eliminates any mis-configuration of the recording sources. The audio system can be set to a single audio source such as wave (system sounds),microphone, line-in, cd or digital audio in; or to record everything that is playing back , called ‘stereo mix’. This setting is undesirable for voice communication.
When the audio recording source is set correctly to microphone, only the microphone will be recorded. The same applies when Multi Streaming is enabled, only applications configured to use the headset connected to the front audio port will record only from the headsets microphone.
A user can say watch a video while participating in a voice chat and the only interference with the conversation will be any background sounds that the microphone picks up.
Independent Playback/record and voice chat can also be performed simultaneously when multi streaming is used. A user can record analogue or digital audio completely independently of a simultaneous voice conversation
Audio can also be connected digitally, via SPDIF connection to the PC or via USB or FireWire audio devices such as Adapters (colloquially called sound cards, but not actually a card, more of a dongle or adapter), speakers or headphones.
Each of these devices will appear to the system as a separate sound card and therefore the ‘multi streaming’ feature discussed above is not required.
Audio will only be played back and recorded on the device that a particular application is configured to use. Any application that uses audio on windows should offer a setting that allows the sound device to be selected.
Enabling multi streaming is free, easy and offers a convenient way to do voice dedicated voice communications using a headset and speaker on a PC. With several applications, the user can even configure the application to use the speakers connected to the system as an optional speakerphone, just as they would with a cell phone or desk phone.
Today we will show you how to enable multi streaming on the Realtek HD Audio solution found in the majority of PCs today as well as how to configure a popular telephony application to use the headset for voice and system speakers for speakerphone.
Of course, this is just a suggested method, the secondary audio device can be dedicated to a music player or game, but the design and intention for this feature is Voice over IP applications.
The same instructions to configure the application can also be used for USB or FireWire audio devices, selecting the appropriate device name from the selection lists
Requirements
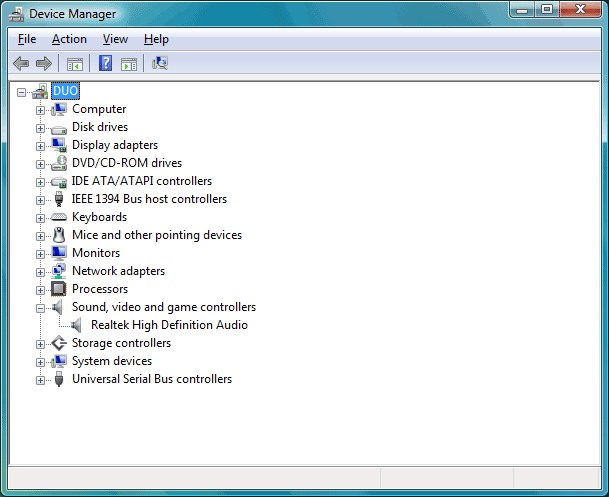
- PC with Realtek brand HD Audio Codec. HD Audio CODEC from other vendors may support multi streaming but in this guide, we are only covering the Realtek solution.
- Realtek drivers installed, preferably latest. These drivers are available on the driver CD for your motherboard or computer, PC vendor website , motherboard vendor website or http://www.realtek.com.tw as well as popular file mirrors. Microsoft’s drivers do not allow this feature to be configured. Other brands of audio device may offer multi streaming but only Realtek will be covered in this guide.
- Front Audio sockets of PC chassis should be connected to the system motherboard and working.
- Any type of headset that supports 3.5mm green and pink sockets, preferably connected to the front audio sockets of the system

- A pair of speakers connected to the rear audio lineout socket, external microphone connected to the rear pink microphone socket (optional)

Instructions - Windows XP
- Double-Click the Realtek HD Audio Manager icon in the system tray. (Red speaker icon)

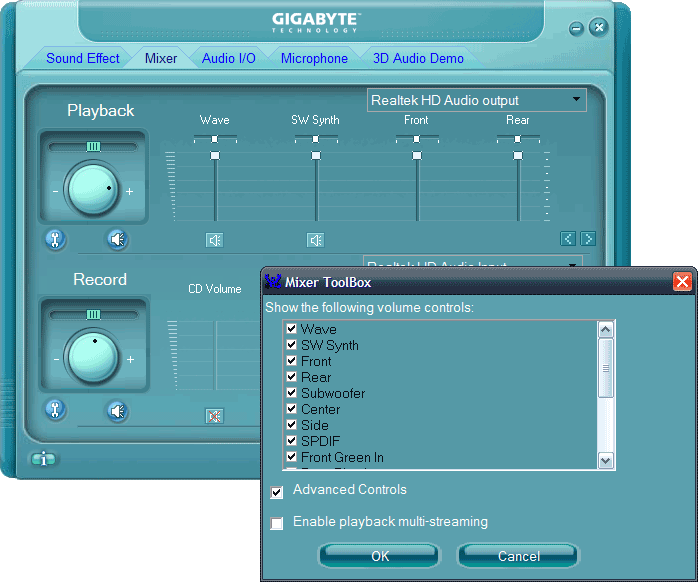
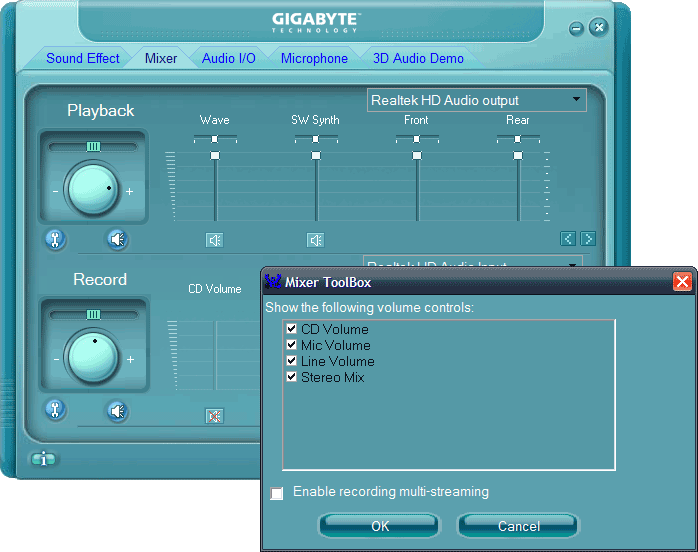
- Click the Mixer tab. Click on the “Mixer Toolbox” link under Playback (Wrench/Spanner Icon)
- Click to tick “Enable playback multi-streaming”. Click OK when done.
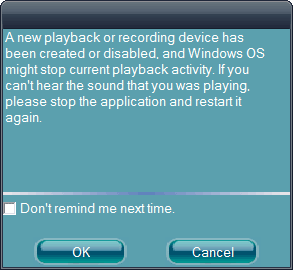
- Click OK on the subsequent notification message
- Click the Mixer tab. Click on the “Mixer Toolbox” link under Recording (Wrench/Spanner Icon)
- Click to tick “Enable recording multi-streaming”. Click OK when done.
- Click OK on the subsequent notification message.
That is it! The next step is to configure the desired application to use these connections. Proceed to How to create a dedicated Voice over IP headset for your PC - for free. Part 2.
The mixer settings should be correct by default and not need to be adjusted once this process this performed. The additional options such as noise suppression and echo cancellation can be adjusted as desired.
To disable the secondary audio device, repeat the above steps, de-selecting the multi streaming options under playback and recording.
Instructions - Windows Vista and Windows 7
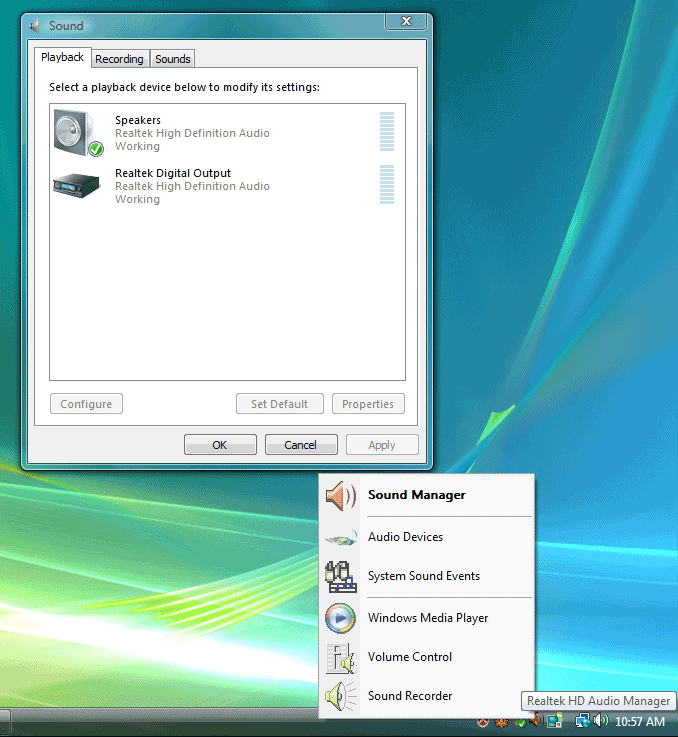
- Double-Click the Realtek HD Audio Manager icon in the system tray. (Red speaker icon)
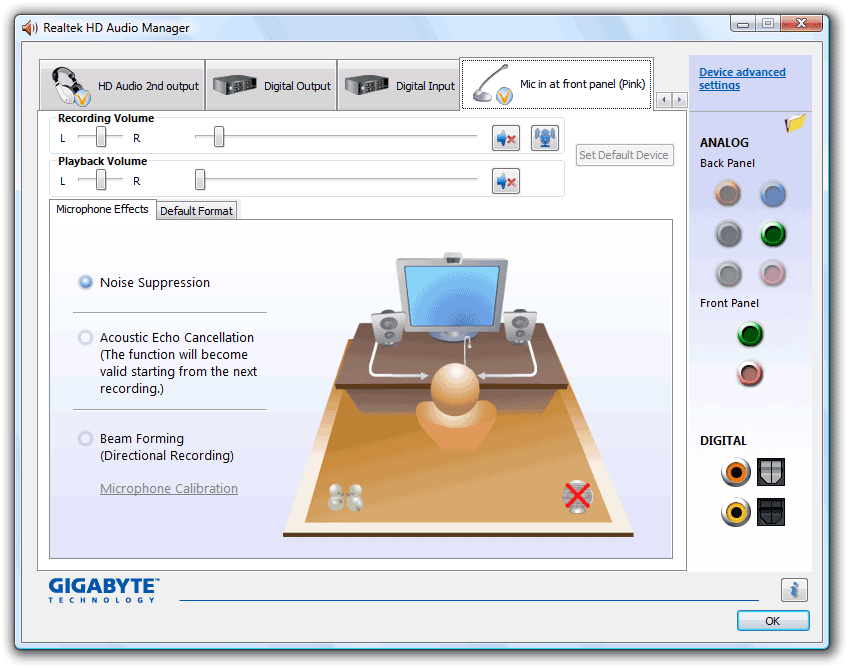
- Click on the “Device advanced settings” link
- In the advanced settings dialog box, select “Make front and rear output devices playback two different audio streams simultaneously” and “separate all input jacks as independent devices”. Click OK when done.
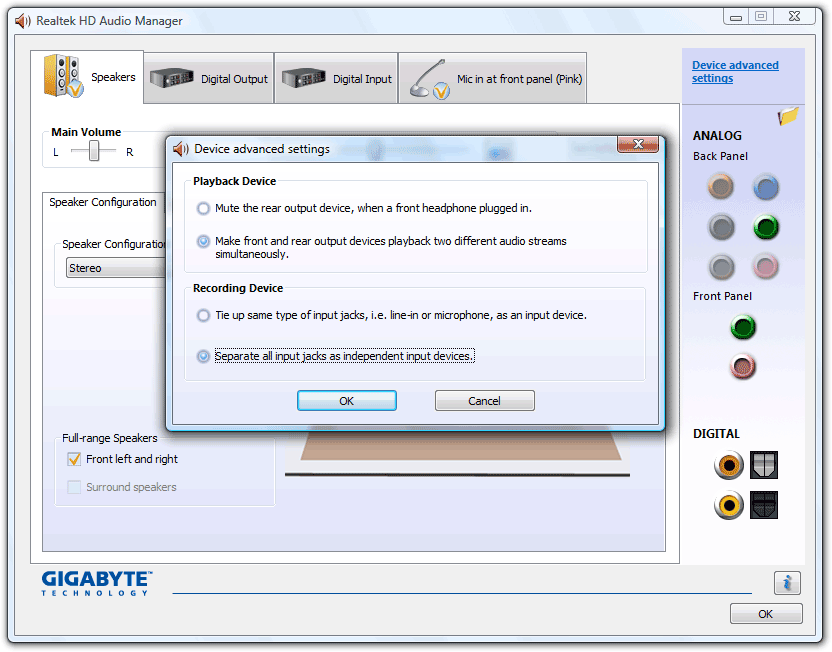
- Two new additional Tabs are now available. HD Audio 2nd output (front green) and Mic in at front panel (front pink)
That is it! The next step is to configure the desired application to use these connections. Proceed to How to create a dedicated Voice over IP headset for your PC - for free. Part 2.
The mixer settings should be correct by default and not need to be adjusted once this process this performed. The additional options such as noise suppression and echo cancellation can be adjusted as desired.
To disable the secondary audio device, repeat the above steps, selecting the alternate options under playback and recording under “Device advanced settings”.